What are the Steps in Making a Cartoon Self?
May 5, 2023
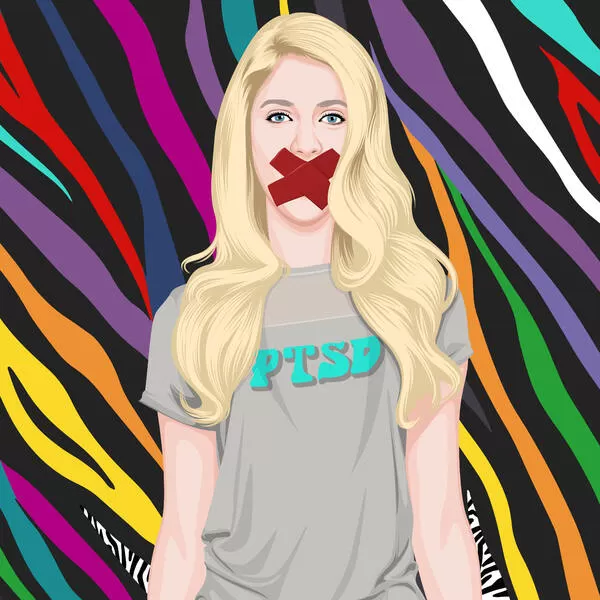
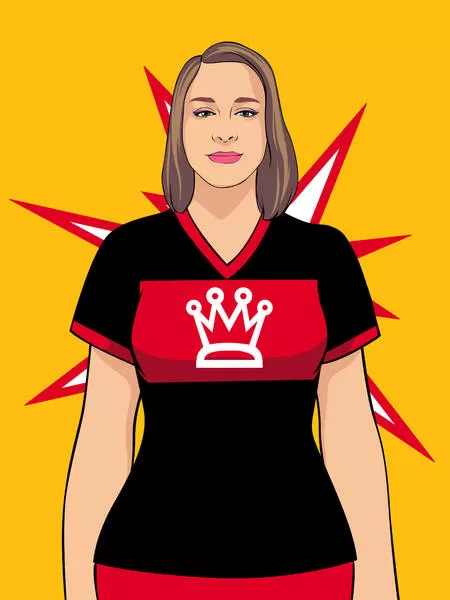
Are you interested in creating a unique and fun representation of yourself? A cartoon self-portrait might just be the answer. In this article, we will guide you through the steps on how to make a cartoon self-portrait.
A cartoon self-portrait is a stylized and exaggerated version of your own face or image. It can be created by manipulating facial features, adding accessories, or altering the proportions of your features to create a whimsical and eye-catching representation of yourself.
Creating a cartoon self-portrait is not just a fun activity, it also serves as a way to express yourself and showcase your personality. It can also be used as a unique profile picture, a branding tool for your business or social media, or as a gift for a loved one.
At TheCartoonist.Me, I specialize in creating custom cartoon portraits and caricatures for clients worldwide.

How to Make a Cartoon Self-Portrait
A cartoon self-portrait is a fun and creative way to capture your likeness in a unique way. With a few simple steps, you can create a cartoon version of yourself that is both recognizable and expressive.
Step 1: Gather Reference Materials
Before you begin drawing your cartoon self-portrait, it's important to gather reference materials. Take a few photos of yourself from different angles, paying close attention to your facial features and any distinctive accessories, such as glasses or jewelry. These photos will serve as a guide as you begin to sketch your self-portrait.
Step 2: Sketch the Face Shape
Using a pencil and a blank sheet of paper, begin by sketching the basic shape of your face. Pay attention to the proportions of your facial features and the overall shape of your head. Keep your lines light and loose, as you will be refining them in the next steps.
Step 3: Draw the Facial Features
Next, it's time to add the facial features that make your self-portrait unique. Start with the eyes, nose, and mouth, paying attention to their size and placement on your face. Add any additional features, such as eyebrows or freckles, that help capture your likeness. Use your reference photos to guide you as you refine your lines.
Step 4: Add Details and Accessories
To make your self-portrait even more personalized, add in any details or accessories that you feel represent you. This could include your hairstyle, glasses, or clothing. Don't be afraid to get creative and add in fun elements that reflect your personality.
Step 5: Color the Cartoon Self-Portrait
Finally, it's time to add color to your cartoon self-portrait. Choose colors that match your skin tone and clothing, and don't be afraid to use bold and bright colors to make your self-portrait stand out. You can use markers, colored pencils, or digital tools to add color to your drawing.
With these five simple steps, you can create a cartoon self-portrait that is both unique and expressive.

How to Make a Self-Portrait Step by Step
Creating a traditional self-portrait is a time-honored practice in the world of art, dating back to the early civilizations. It requires a great deal of patience, skill, and attention to detail. Unlike a cartoon self-portrait, a traditional self-portrait aims to capture the likeness and subtleties of a person's appearance in a realistic manner.
Artists who create traditional self-portraits use a variety of materials, including pencils, charcoal, paint, and even digital tools. The process of making a traditional self-portrait can be a deeply introspective experience, as it requires the artist to study their own features and express their inner selves through their artwork.
Despite the technical challenges of making a traditional self-portrait, the end result can be a striking and timeless representation of the artist's own appearance.
Here's a step-by-step guide on how to make a self-portrait:
Step 1: Set Up Your Materials and Lighting
Make sure to have a mirror or a reference photo of yourself, a pencil or charcoal, a sketch pad or drawing paper, and good lighting to properly see your features and shadows.
Step 2: Sketch Your Face Shape
Start by sketching the basic shape of your face, including the outline of your jaw, cheeks, and forehead.
Step 3: Add the Facial Features
Add in the placement and proportions of your eyes, nose, mouth, and ears. Pay close attention to the angles and curves of each feature.
Step 4: Add the Details
Add in the details of your face, including wrinkles, freckles, or blemishes. Use shading to create depth and dimension to your features.
Step 5: Shade and Color the Self-Portrait
Use shading to add depth and dimension to your portrait. You can use a variety of materials such as graphite, charcoal, or colored pencils to add color and texture.

How to Make a Cartoon Character Step by Step
Creating a cartoon character can be a fun and creative way to bring your imagination to life. You can design a cartoon character that represents a specific trait or emotion, or even create an entire cast of characters with unique personalities and storylines.
With the flexibility and versatility of cartoon characters, they can be used for a variety of purposes such as storytelling, marketing campaigns, and entertainment.
Additionally, creating your own cartoon characters can be a great way to develop your artistic skills and expand your creativity.
Here's a step-by-step guide on how to make a cartoon character:
Step 1: Decide on the Character's Appearance
Choose the appearance and style of your character, including their facial features, hair, clothing, and accessories.
Step 2: Sketch the Character's Basic Shape
Sketch the basic shape of the character, including the head, body, and limbs. Use simple shapes such as circles, triangles, and rectangles to create the basic structure.
Step 3: Add the Facial Features
Add in the placement and proportions of the character's eyes, nose, mouth, and ears. Exaggerate the features to create a unique and memorable character.
Step 4: Add the Details and Accessories
Add in the details of the character's face and outfit, including wrinkles, shading, and textures. Add accessories to add personality and depth to the character.
Step 5: Color the Cartoon Character
Use color to bring your character to life. Choose a color palette that fits the character's personality and style, and use shading and highlights to add depth and dimension.

How to Make a Cartoon Character from a Picture
Not only is creating a cartoon character from a reference picture a fun activity, but it also allows for a high degree of customization and creativity. By taking a real-life subject and transforming it into a cartoon character, you can bring out its unique characteristics and traits in a way that may not have been possible with a traditional photograph.
This process involves carefully analyzing the subject's features and using artistic techniques to stylize and exaggerate them. The result is a fun and eye-catching representation that can be used in a variety of applications, such as marketing materials, illustrations, or even as a personalized gift. Whether you're a professional artist or a beginner looking to explore your creative side, creating cartoon characters from reference pictures is a rewarding and enjoyable experience.
Here are the steps to make a cartoon character from a picture:
Step 1: Choose a Reference Picture
Choose a clear, high-quality picture of the person or object you want to cartoonize. It's important to choose a picture with good lighting and detail so that you can capture the unique features of the subject.
Step 2: Sketch the Basic Shape
Using the reference picture as a guide, sketch the basic shape of the character. This will serve as the foundation for the rest of the drawing.
Step 3: Add the Facial Features
Next, add the facial features to the character. Pay attention to the details such as the eyes, nose, mouth, and ears. Use the reference picture as a guide to ensure that you capture the likeness of the subject.
Step 4: Add the Details and Accessories
Once you have the basic shape and facial features in place, start adding the details and accessories to the character. This can include things like hair, clothing, and other distinguishing features.
Step 5: Color the Cartoon Character
Finally, add color to the cartoon character. Use colors that complement the subject's features and personality.

Creating a cartoon self-portrait or character is a fun and creative way to express yourself or bring your favorite subjects to life. When creating a cartoon, it's important to choose the right tools for the job. There are a variety of software programs available that can help you create high-quality cartoons, such as Adobe Photoshop, Illustrator, or Procreate. Additionally, there are many online resources available, such as tutorials and templates, that can help you get started. It's also important to practice regularly and experiment with different styles and techniques to find what works best for you.
With dedication and persistence, anyone can improve their cartooning skills and create amazing artwork. And if you're looking for professional help, TheCartoonist.Me can provide personalized and high-quality cartooning services to bring your vision to life.
READ MORE ENTRIES


